How to Set Up a VPN on Your Apple TV + Best & Easiest VPNs
Apple TV stands out as the only streaming device that can bring the entire iTunes video library – including Netflix, Hulu, HBO, and much more – to your HDTV instantly. At least, that’s what it can do in the US.
What Apple TV can’t do is remove geo-restrictions on content. There is nothing worse than looking forward to an all-night binge of your favorite series, only to receive that dreaded message that the content is not available in your location.
For most devices, we would tell you the solution is simple: Install a high-quality VPN, select a server in a region where the show isn’t geoblocked, and boom. Crisis averted.
With Apple TV, however, there’s a problem. The device doesn’t have built-in VPN support, so there is no way to directly install a VPN on your Apple TV.
Hang on – don’t give up yet! Our experts have found simple workarounds that will have you streaming content from all over the world worry-free on your Apple TV in minutes.
The guides below will walk you through three methods of setting up a VPN for your Apple TV. We’ll also recommend the best VPNs to use with Apple TV for simple installation and easy access to all your favorite content.
In addition to bypassing tough geoblocks, the best VPNs also protect your internet connection. You can browse or stream from any location with the knowledge that your online activity is private and safe.
How to Set Up a VPN for Your Apple TV
The three methods of setting up a VPN for your Apple TV have different advantages and disadvantages. Here’s a brief look at the pros and cons of each method to help you decide which approach is best for your situation.
1. Router installation
- Pros: A VPN installed directly onto your router allows you to easily protect all devices connected to your wi-fi network, including those that typically would not support VPN software. Once a VPN is set up on your router, you’re done. You’ll be able to access geoblocked content from any device without any additional setup.
- Cons: Not all router types support VPN installation, and manual installation on unsupported routers is challenging. Unless you are extremely tech savvy, you may want to choose another method if your router is not supported.
2. Virtual router creation
- Pros: Setting up a virtual router on your computer allows you to share its VPN-protected connection with your Apple TV and other devices. The process is simple, and router compatibility is not an issue.
- Cons: Only PCs can be turned into virtual routers. You can share your Mac’s internet connection, as we’ve shown in articles about other streaming devices, but you would still need a PC to create the virtual router. Creating a virtual router might also result in a slower connection than you’ll get with direct installation on a physical router.
3. Smart DNS proxy
- Pros: This is the easiest method if your main goal is to get past geoblocks. You can manually direct your Apple TV to connect to apps and websites through a server in another location. A smart DNS proxy has the additional benefit of not slowing down your connection speed.
- Cons: Although a DNS proxy is the simplest way to get past geoblocks, this method does not provide the protection or security of a full VPN.
Step-by-Step Installation Guides for Apple TV VPNs
Don’t worry if you feel a little intimidated by the setup process. We’ve got your back. Just follow the step-by-step guide below for the setup method you’ve chosen.
1. Router installation
By far the easiest way to set up a complete VPN for your Apple TV is to purchase a preconfigured router from your VPN provider. It’s the perfect solution if you’ve been considering a new router, anyway – you’ll be able to skip these installation guides completely!
At the opposite end of the difficulty spectrum, some routers don’t support VPN connections at all. You can go to your VPN provider’s website to check if your router type is compatible with the service and find a specialized installation guide.
If your router is not supported, it’s probably best to set up a virtual router instead (see below). We’ll focus here on setup for a VPN-compatible router. Some details of this process will depend on which VPN and type of router you have.
For our example, we’ll go through the steps of configuring a compatible router with the ExpressVPN app. We will use the Linksys EA6200 router, but the process is similar for most ExpressVPN-compatible routers.
Let’s Get Started:
- After signing up for ExpressVPN, you’ll receive a welcome email with a link labeled Set up ExpressVPN. The link will prompt you to sign in to your ExpressVPN account.
- After signing in, click where it says Set Up on More Devices.
- You will be given a list of devices to choose from. On the left side of the screen, click on Router. Select your router type – for this example, Linksys EA6200 – and then click on Download Firmware.
- The next step is to connect your computer to the router with an ethernet cable. Be sure to connect the cable to one of the router’s outgoing ports (usually blue and labeled LAN) rather than the internet port (usually yellow, sometimes labeled WAN).
- Disconnect your router from the internet. The simplest way to do this is to unplug the internet cable from the yellow Internet or WAN port on the back of the router.
- Access your router setup screen by going to linksyssmartwifi.com or entering your router’s default gateway into the address bar. If you have never configured your router before, check the two boxes that come up on your screen and press Next.
- You will be prompted to sign in to your Linksys Smart Wi-Fi account. However, do not sign in. Instead, click where it says For local access click here on the lower right of the screen.
- You will be prompted to log in with your router password. Simply enter admin and then click Sign In.
- On the lower left of the screen under Router Settings, click on Connectivity.
- In the Manual section, click Choose File. Select the ExpressVPN firmware. Now click Start.
- A notification will pop up telling you that a reboot of your router is required for the firmware update. Select Yes.
- When the firmware installation is complete, another notification will pop up informing you that the router is rebooting. Click Ok. When the router is finished rebooting, your browser will automatically be redirected to www.expressvpnrouter.com.
- Simply enter admin as both the username and password.
- Connect your router to the internet again by plugging your internet cable into the yellow Internet or WAN port.
- Sign in to your ExpressVPN account. You may be prompted to activate your account by entering your 23-digit activation code. After entering your code, click Activate.
- Guess what? You’re done! Every device that uses your wi-fi connection now has the protection and geoblock-breaking power of ExpressVPN!
ExpressVPN will automatically connect you to the VPN location that it recommends as best for you. However, you can click Select Another Location to connect to a server from any of the 94 countries on the ExpressVPN network.
Keep in mind that since you are running your VPN through your physical router, the location you select will apply to all connected devices.
2. Creating a Virtual Router on your PC
The process of creating a virtual router is less complex than installing a VPN directly onto your physical router. This method also allows you to take advantage of the full privacy and security benefits that VPNs offer without having to worry about router compatibility.
The first step in setting up a virtual router is to set up a VPN for your computer. Just choose a VPN provider that supports the OpenVPN protocol, sign up, and install the software onto your PC.
Follow the provider’s instructions to set up your VPN and select your desired server location. Then follow the steps below to set up a virtual router and share your VPN-protected internet connection with your Apple TV.
Pro Tip: If you are running Windows 10, you do NOT have to manually create a virtual router! Simply turn on your mobile hotspot by going to Settings > Network & Internet > Mobile hotspot. Then skip to step 11 in the guide below.
The technical command prompts in the guide below might look pretty daunting, but don’t worry. We will show you exactly what to type for each step of the process.
Let’s Get Started:
- Navigate to your computer’s Command Prompt. You can find this by typing Windows + S to launch your computer’s search bar and then typing cmd.
- Right-click on Command Prompt and click to select Run as administrator.
- Copy and paste or type the following text into the command prompt window:
netsh wlan show drivers - Press enter.
- If you see the following text displayed, it means that your computer’s network adapter is capable of creating a virtual router:
Hosted network supported : Yes - So far so good! Let’s start creating a virtual router.
- Either copy and paste or type the following text into the command prompt window:
netsh wlan set hostednetwork mode=allow ssid=NETWORKNAME key=PASSWORD
Important: Make sure to replace the text NETWORKNAME and PASSWORD with any network name and password that you like. Press enter when you're done. - You should now see three lines of text telling you that the hosted network mode has been set to allow, and that the SSID and user key passphrase have been successfully changed. This means that your virtual router has been created!
- Type the following text into the command window to turn on the virtual router you just created:
netsh wlan start hostednetwork - Press enter. You should now see the following message: The hosted network started. Congratulations! You are done setting up your virtual router. Now you need to instruct your computer to share this connection with other devices.
- Navigate to your computer’s Adapter settings. For Windows 10, this is under Settings > Network and Internet > Change adapter options. For older versions of Windows, right-click on your computer’s wi-fi icon in the bottom right of your screen and click on Open Network and Sharing Center, and then on Change adapter settings.
- On the list of connections, you should see the network name that you entered earlier in the command window. Do not click on this connection now, but remind yourself of the name you chose.
- Find the connection that has either the name of your VPN provider or the phrase Tap Adapter. Right click on this connection and click on Properties.
- Select the Sharing tab.Check the box for the following setting: Allow other network users to connect through this computer’s internet connection.
- In the dropdown menu under Home networking connection, click on the name of the hotspot you created (for Windows 10) or the name of the virtual router that you just created (for other versions of Windows).
- Click OK.
That’s it! You can now easily connect your Apple TV to the virtual router you’ve created and enjoy the full benefits of a VPN connection. Simply choose your new virtual router network from the wi-fi options available on your Apple TV.
3. Using a Smart DNS proxy directly on your Apple TV
DNS servers allow you to change your IP address to bypass geo-restrictions. Usually, when your device tries to access a website, the request is sent to a local DNS server to translate the domain name request into the IP address of the website you want to reach.
Websites are able to see the server location where the DNS request came from and can therefore restrict access based on your location. This why you may have trouble accessing your favorite streaming services on your Apple TV.
Luckily, Apple TVs come equipped with the ability to manually select a DNS server. This is the least complicated way to get around geoblocks.
However, this method does not give your Apple TV or other devices the security and privacy protections of a full VPN. Therefore, we recommend only using a Smart DNS proxy from a trustworthy VPN provider.
For our example, we’ll set up a Smart DNS proxy directly on our Apple TV using ExpressVPN’s MediaStreamer feature. Setting up a different Smart DNS proxy would be very similar.
Let’s get started:
- Using your computer, follow the steps provided by ExpressVPN to register your device’s IP address.
- When finished, navigate to your Apple TV’s settings.
- Click on General and then Network.
- Click on Configure DNS and then select Manual.
- On the screen that appears, input the DNS address provided by ExpressVPN’s MediaStreamer. You will want a US IP for services like Hulu and HBO, or an IP in the UK to access the BBC iPlayer.
- Click Done.
- For the new configuration to take effect, restart your Apple TV.
Just like that, the geoblocks should vanish so you can access all your favorite streaming services and shows!
Best VPNs to Use with Apple TV in Detail
No matter which setup method you use, it is crucial to choose a VPN with a vast network of fast servers and the ability to bypass tough geo-restrictions and VPN blocks. Otherwise, you’ll go through all the trouble of installation only to have limited content access or poor video quality.
These are our top-performing VPNs for video streaming that offer easy installation on many router types. Several of them also offer Smart DNS proxy services.
1. ExpressVPN
Tested June 2025
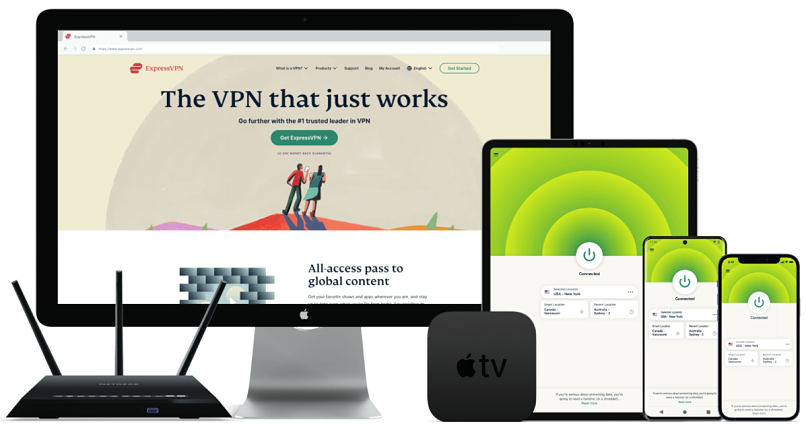
ExpressVPN receives many positive reviews for offering some of the fastest speeds on the market, making it an ideal VPN to use with your Apple TV. With ExpressVPN, you won’t sacrifice streaming speed or video quality to get topnotch security.
You can also buy a router with ExpressVPN already set up, saving you the hassle of router installation or virtual router setup. But if you’re not in the market for a new router, ExpressVPN offers in-depth setup guides for all compatible routers.
- 3,000 servers in over 105 countries
- Easily bypass geoblocks with the MediaStreamer DNS feature
- Strong 256-bit AES encryption with OpenVPN, L2TP/IPSec, and other protocols
- No-logging policy, split tunneling, DNS/IPv6 leak protection, and a kill switch
- OpenVPN protocol supports creating a virtual router
- Instant technical support through 24/7 live chat
- Connect up to 8 devices simultaneously
- 30-day money-back guarantee* and 7-day free trial on mobile devices
2. CyberGhost
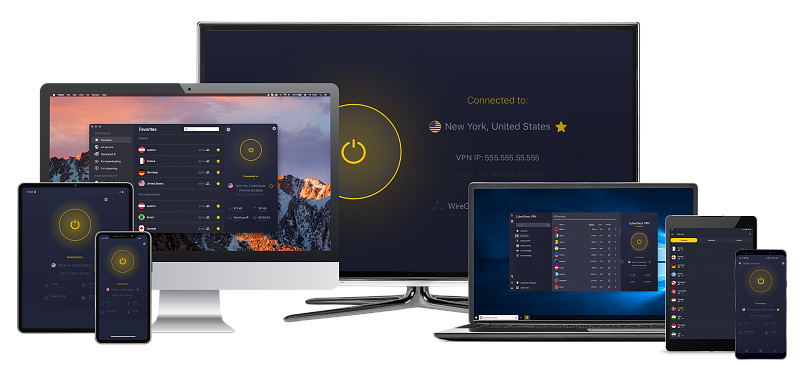
CyberGhost is a great choice if you are looking for a VPN that is completely anonymous and secure. Located in privacy-friendly Romania, the provider keeps no logs of any kind and offers preconfigured modes for secure browsing and anonymous torrenting.
The apps are also extremely simple to use and include instant access to dedicated customer support for accessing streaming content. CyberGhost has earned its reputation as a budget-friendly VPN that’s extremely reliable, fast, and secure.
- 11,690 servers in 100 countries
- Secure 256-bit AES encryption, along with OpenVPN and multiple other protocols
- Automatic kill switch and DNS leak protection to keep your IP address hidden at all times
- OpenVPN protocol supports creating a virtual router
- Connect up to 7 simultaneous devices
- 7-day free mobile trial and 45-day money-back guarantee
3. PrivateVPN
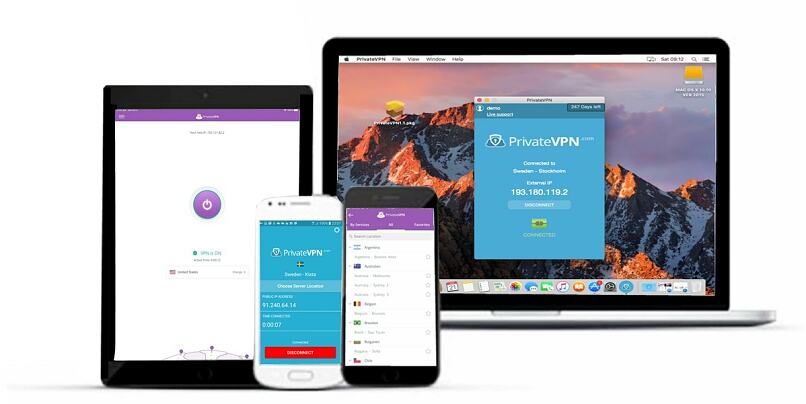
With PrivateVPN, you don’t have to worry about being interrupted in the middle of a Netflix binge by a poor connection. This provider has become a fan favorite for its reliability and fast, stable connections.
PrivateVPN also offers a host of competitive security features and virtual remote customer support to guide you through installation. The unique Team Viewer feature even enables the PrivateVPN tech team to set up your VPN for you on many devices!
- 200 servers in 63 countries
- 2048-bit encryption with OpenVPN, L2TP, PPTP, and IKEv2 protocols
- Security features include a no-logs policy, IPv6 leak protection, and a kill switch
- OpenVPN protocol supports creating a virtual router
- Connect up to 10 devices simultaneously
- 7-day free trial and 30-day money-back guarantee
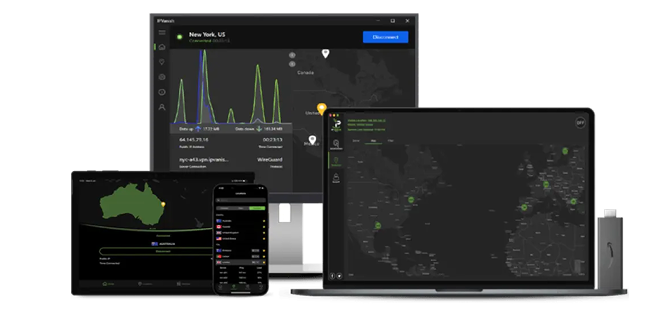
4. IPVanish
IPVanish offers detailed guides for setting up the VPN on most popular routers. The provider also offers a selection of preconfigured routers to avoid the hassle of manual setup and get instant protection for all your devices.
While IPVanish successfully unblocks a significant number of popular streaming services compatible with Apple TV, it may not provide access to as many as the aforementioned VPNs. For instance, at present, IPVanish does not support access to the BBC iPlayer.
However, IPVanish does allow you to access geo-restricted content on Netflix, making it a good option if that is your preferred streaming service. Customers praise IPVanish for its easy setup and simple interface.
- 2,400 servers in 109 countries
- Connect an unlimited number of simultaneous devices
- High-speed connection with unlimited bandwidth
- Support for P2P traffic and server switching
- Strong security with 256-bit AES encryption
- No-logs policy and access to the OpenVPN, IKEv2, and L2TP/IPsec protocols
- OpenVPN protocol supports creating a virtual router
- 24/7 live chat support
- 30-day money-back guarantee
Summary
A VPN will allow you to take full advantage of all the streaming services available with your Apple TV. Purchasing a pre-configured router from a top VPN provider makes protecting your Apple TV with a VPN incredibly easy.
But if a new router isn’t within your budget right now, just follow one of the setup guides above, and the whole world of iTunes content will be at your fingertips in no time. For more information on router installation of VPNs, check out our Best VPNs blog series.
And don’t forget, we are constantly combing the web to hook you up with the best current deals on VPNs.
Your online activity may be visible to the sites you visit
Your IP Address:
216.73.216.61
Your Location:
US, Ohio, Columbus
Your Internet Provider:
Some sites might use these details for advertising, analytics, or tracking your online preferences.
To protect your data from the websites you visit, one of the most effective steps is to hide your IP address, which can reveal your location, identity, and browsing habits. Using a virtual private network (VPN) masks your real IP by routing your internet traffic through a secure server, making it appear as though you're browsing from a different location. A VPN also encrypts your connection, keeping your data safe from surveillance and unauthorized access.



Please, comment on how to improve this article. Your feedback matters!